FastCAD
SHO Member
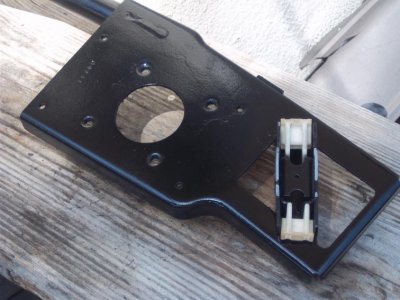
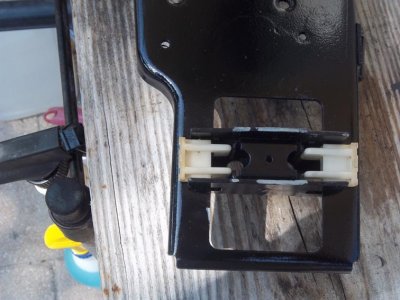
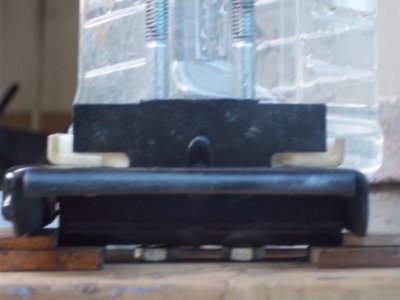
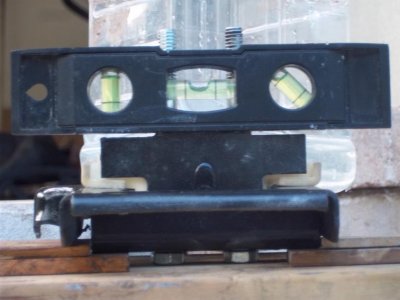
does anyone have a diagram of the rob shifter?
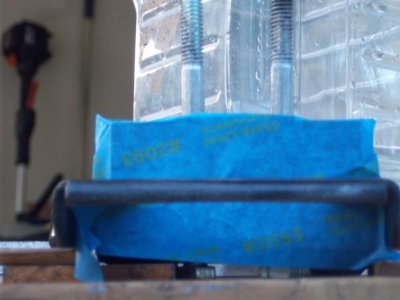
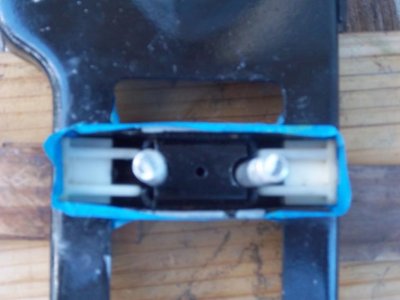
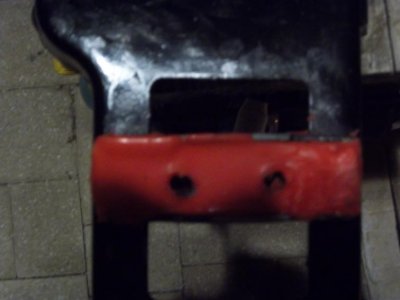
I want to smooth out the shifter action. I have a rebuild kit but I am at a loss as to how to replace the "gel" bushing. The '91 repair manual only covers the cable shifter.
Thanks,
Joe
I want to smooth out the shifter action. I have a rebuild kit but I am at a loss as to how to replace the "gel" bushing. The '91 repair manual only covers the cable shifter.
Thanks,
Joe